Avoiding content flickers (FOOC)
When personalizing the different elements on a page of your website, you may notice a flicker or a brief moment between the website loading and your personalizations being applied. This is especially true for content near the top of your web page, as this flicker generally happens immediately after a page is first loaded.
This is referred to as Flash Of Original Content (or FOOC).
This guide covers how to use RightMessage’s built-in classes to manage content – like headlines or a hero area – that 1) might be changed by RightMessage and 2) is at or near the top of a page.
In this guide, we’ll cover:
- Why content flickers happen
- How we fixed this (with custom CSS classes)
- What if RightMessage fails to load? No worries
- Best practices for avoiding content flickers
- How to add our CSS classes to personalized elements on your website
Why this happens
RightMessage is loaded “client-side.”
This comes with a ton of great benefits, the biggest being that RightMessage can run on any website regardless of underlying platform or technology.
But there’s one big drawback, and it has to do with how websites load.
Let’s say that a returning customer is viewing your home page. You want to swap out the “Sign up” button with a “Join a training webinar” button. And you’re going to use RightMessage’s personalization editor to do this. (Easy!)
Your server sends back your default, unpersonalized home page (with the “Sign up” button), and then the RightMessage script is requested and loaded. RightMessage, after loading, identifies that this visitor is a returning customer, and tells the page to make the button say “Join a training webinar”.
This typically takes milliseconds to accomplish, but – especially for content “above-the-fold” (marketing-speak for “near the top of the page”) – it can be pretty obvious that something changed, even if the visitor isn’t sure what. The experience ends up being a bit jarring.
How we fixed this
When you add your unique tracking script to your website, we also add a handful of CSS classes.
They are:
-
rmcloak– hide the content until personalizations are applied OR RightMessage fails to load. Don’t jumble up the page. -
rmcloak-stay-invisible– hide the content until personalizations are applied. Don’t jumble up the page. -
rmcloak-hidden– actually remove the content until personalizations are applied OR RightMessage fails to load. Redraw the page after showing. -
rmcloak-stay-hidden– actually remove the content until personalizations are applied. Redraw the page after showing.
99% of the time you’ll be using rmcloak – so we’re just going to focus on that for now.
When you add rmcloak to some section of your web page that we’re going to personalize, like your home page hero, we’re going to apply the visibility: hidden rule to that area.
Don’t speak CSS? No worries! This just means that the area that all that content takes up will be blanked out temporarily.
Once RightMessage loads and personalizes the content of that area, we remove the rmcloak CSS class and your personalized content shows.
- GOOD: [blank space] -> “Welcome, returning customer!”
- BAD: “Welcome!” -> flicker -> “Welcome, returning customer!”
What if RightMessage fails to load?
We’ve built in a safeguard into the loading of the RightMessage script…
Should RightMessage fail to load we have a timeout in place that will remove rmcloak (or rmcloak-hidden) automatically. This way if something glitches, your default content will be shown as a fallback.
If, for whatever reason, you’d rather hidden content not show if RightMessage isn’t able to be loaded, use our rmcloak-stay-invisible or rmcloak-stay-hidden CSS classes. These are ONLY ever removed by the successful execution of the RightMessage script.

Once RightMessage loads, we determine what – if any – personalizations need to occur on this page and for this visitor, and we make those changes.
Regardless of whether we change 100 bits of content or zero, the rmcloak, et. al. classes are removed.
Best practices to avoid content flickers
For the CSS classes detailed above to work as they’re intended, they need to be loaded immediately in your page’s header content.
This means if you’re loading our script in the footer of your pages, or you’re using Google Tag Manager to load the RightMessage script, then it’s likely you’ll still see the “flicker” – especially for any content that’s near the top of your pages.
This is because web browsers will load the content of your page and then will load our script and our CSS classes. This difference – which is usually just a few milliseconds – can be jarring.
We recommend adding RightMessage directly to the <head> section of your website.
How to add our CSS classes to personalized elements on your website
We’ve given you a few CSS classes that you can use to avoid the dreaded “flicker” – but where do you add them?
There are a few ways you can tackle this:
-
Simplest: Add
rmcloakto the<body>of each page on your website. Unfortunately this will hide your entire web page until RightMessage is loaded and personalizations run. -
Better, and easier to manage: Target big sections, like the
divthat encapsulates all of your hero elements (i.e. headline, subheadline, hero image). When RightMessage personalizes, the entire hero will then appear. -
Best, but hard to manage: Ensure that every. single. element. that might be personalized on a given page has
rmcloak. Remember that this primarily affects things near the top of web pages, so you might be able to get away with not doing anything for content further down your pages.
Here’s an example
Let’s say you’re running a fitness website.
You want to show someone a personalized report that takes into account their gender, age range, weight goal, and blood type. You’ve put in placeholders (i.e. [gender]) that RightMessage will use to “fill-in” either “male”, “female”, “other”, or “prefer not to say”.
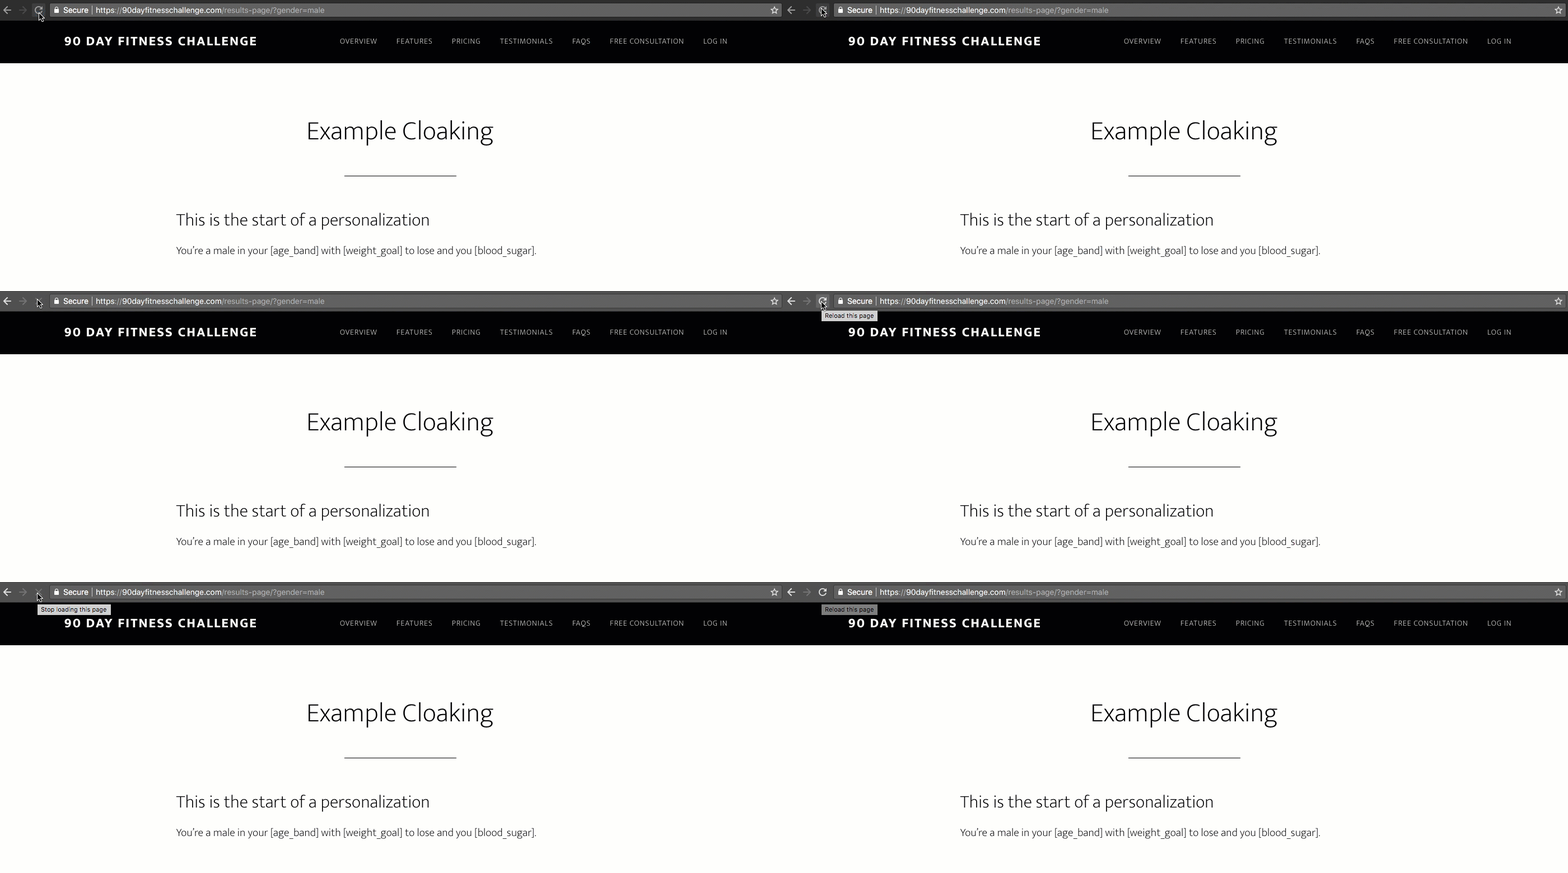
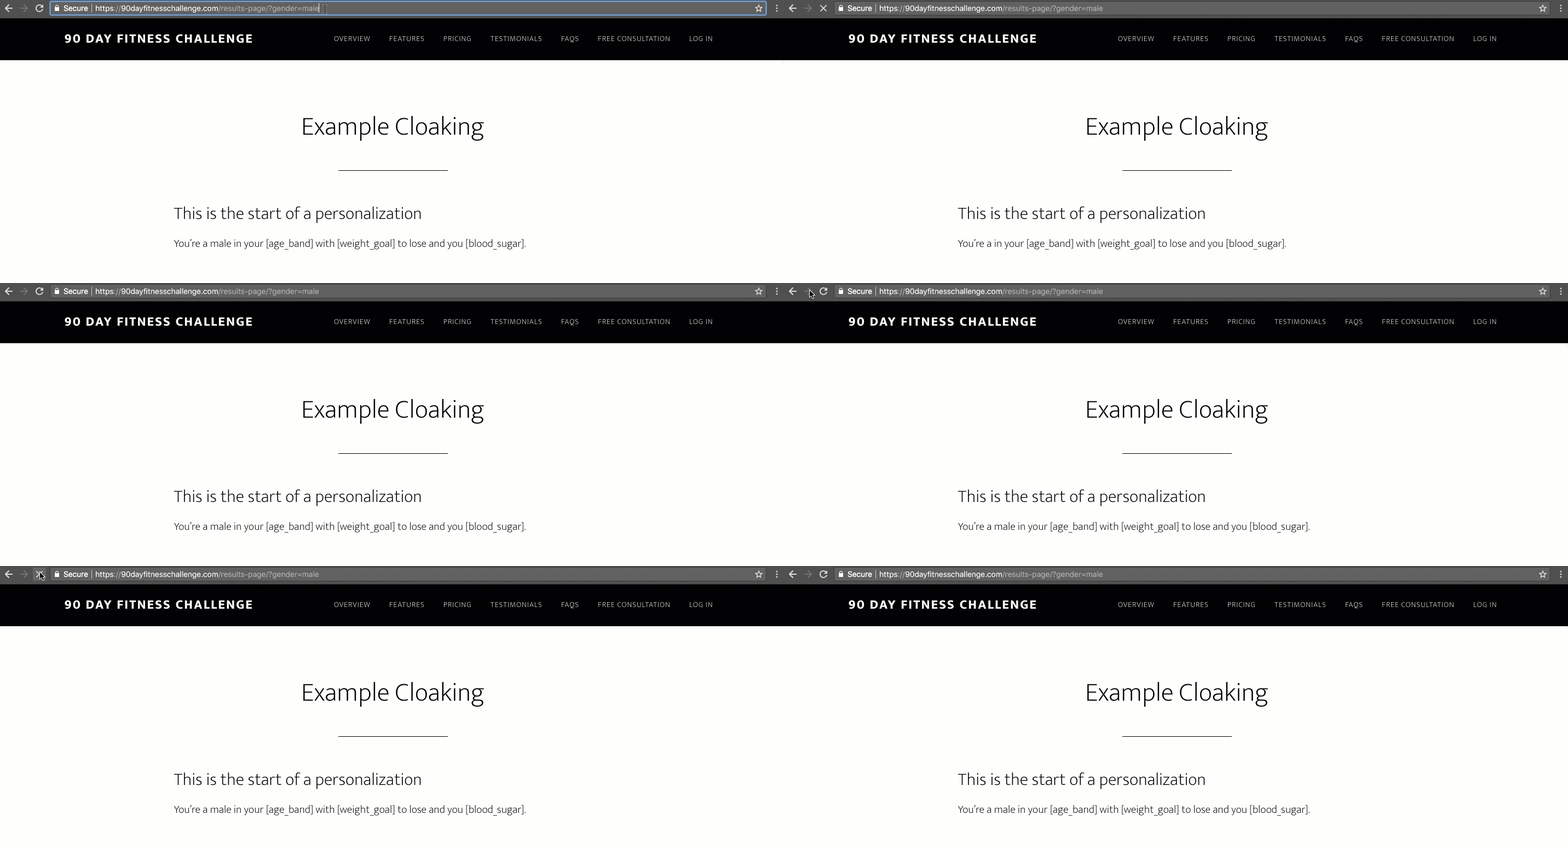
Without our CSS class added to these placeholders, you’ll see a brief flicker between “[gender]” and “male”

To fix this, we’re going to apply the rmcloak CSS class to the HTML code for this placeholder.

Now when this page loads again, you’ll see an empty placeholder that shows prior to “male” being added.

This would work well for things like headlines, hero areas, images, and more – where you want the structure of a page to stay in place. But, for this example, it looks a bit weird – doesn’t it?
A better way to do this would probably be to use the rmcloak-hidden CSS class instead. This will completely eliminate the element from the page (rather than just “blanking” it out) until RightMessage personalizes this element.

Now when this page is loaded, you’ll see that the word gets added – causing the lines of text to redraw – rather than just swapping out a blank space with personalized text. This approach is better for more inline use cases (like this one.)

Publishing To Your Website
When you make changes within the RightMessage app, those changes don't go live immediately. Instead, when you're ready for the work you've been doing to be "pushed" to your website, simply click the "Publish to website" button at the top right of ...
