Google Tag Manager
If you’re using Google Tag Manager (GTM), adding RightMessage to your website is a piece of cake.
If you’re using RightMessage to personalize existing content on your site (i.e. you’re using our Visual Editor), then there’s a good chance using RightMessage with GTM will cause any personalizations that are near the top of the page to “flicker”. Here’s why…
When you add the RightMessage tracking script directly to your website, it includes a few CSS styles that, when applied to above-the-fold elements, cause them to stay hidden until RightMessage has personalized your content.
If you’re loading our tracking script through Google Tag Manager, that CSS doesn’t get added to the page until 1) GTM itself is loaded and 2) GTM loads the RightMessage script.
The long term fix for this is to load our script directly (rather than through GTM.) However, if you’re just using RightMessage for our on-site CTA Funnels, then there’s no issue with using GTM.
Here’s what this guide will help you accomplish:
- You’ll create a new Tag in GTM that contains your unique RightMessage tracking script
- You’ll set up a Trigger condition for this tag. Typically this is whenever any page on your website is viewed.
- You’ll publish this new tag to your website.
- You’ll verify that RightMessage is able to see your tag.
Let’s get started!
Step 1: Create a new Tag for RightMessage in GTM
Head over to your Google Tag Manager dashboard.
Now select Tags to access your account’s list of existing tags.

Next, you’re going to create a new Tag. This is going to be the code that adds your unique RightMessage tracking script to your website.

Give this new tag a sensible name (“RightMessage” sounds pretty good!) and then click the tag icon to start setting up your new tag.

When the “Choose tag type” popup appears, select the Custom HTML option.

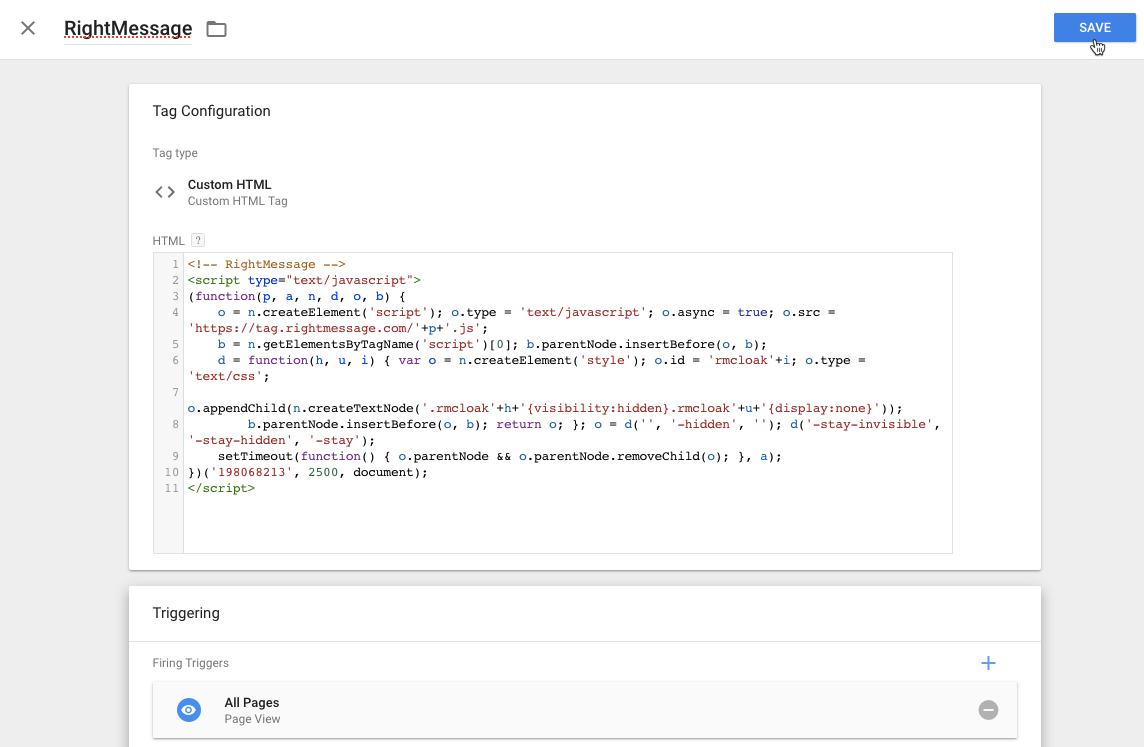
In the HTML field, simply copy and paste your account’s unique tracking script.

Not sure where to find your account’s tracking script? Here’s how to get your script.
Step 2: Ensure the Tag displays on every page
Once you’ve created your Tag, you now need to tell Google Tag Manager where you want this tag to appear. This requires creating a Trigger.
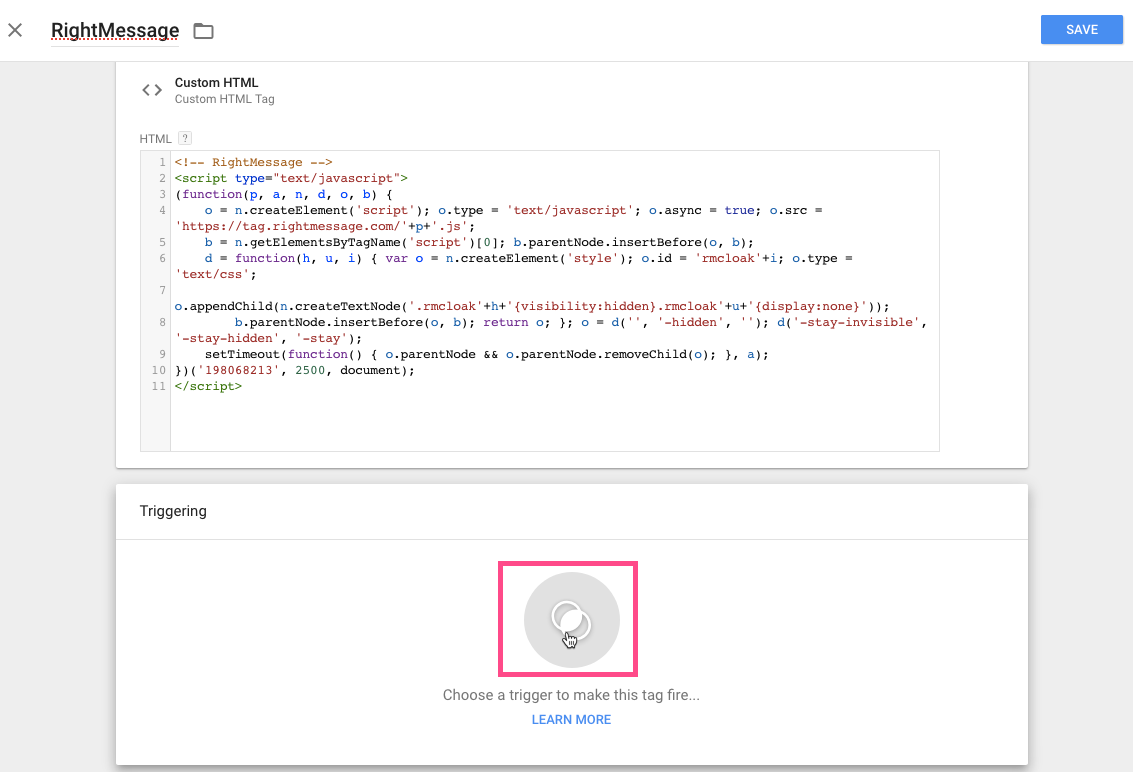
To do this, click the Trigger icon in the Triggering section below the code containing your tracking script.

Select “All Pages” as your Trigger.
(Note: If you’d like to run RightMessage on just a subset of your website, you won’t want to use the “All Pages” trigger. Here’s some more information about GTM Triggers.)
Now that you’ve set up a Tag that contains your RightMessage tracking script, and an accompanying trigger that registers the script on every page on your website, it’s time to save.

Simply “Saving” your new tag doesn’t actually publish it to your website.
To do this, you need to start the publishing process in GTM. Click the Submit button at the top right of the page.

Add a version name (like “Added the RM script”) and any additional notes you’d like your teammates or future self to see. Now click Publish.

Step 3: That’s it!
Now you just need to verify that RightMessage is able to pick up on your GTM-served script.
From your RightMessage dashboard, bring up the View Snippet popup.

It’s probably still failing (“Snippet not detected”) from when you first set up your new RightMessage account. Click the “Check again” button…

If all goes according to plan, RightMessage will have successfully found your tracking script on your website!

If you’re running into issues, check out our list of common issues (and their fixes) by clicking here – or drop us a note.
WordPress
Setting up RightMessage with WordPress is as simple as installing our WordPress plugin.
